Whoops did I miss something??
Quote:
Originally Posted by Onionleaf

Dandelion is beautiful, and so full of character. I could imagine her being on a front cover of her own storybook.
Did you use coloring pencils, or is this a digital drawing? I like the soft, pencil-like effect that you used.  |
Thank you. I do the sketch with pencil first, then color the picture with the computer. To make sure the image is colored, I set the pencil/sketch layer to multiply, so the sketch is still visible. I also sometimes color the image on the top of the sketch layer to add some smoother skin effect.
---
No... I have to post something
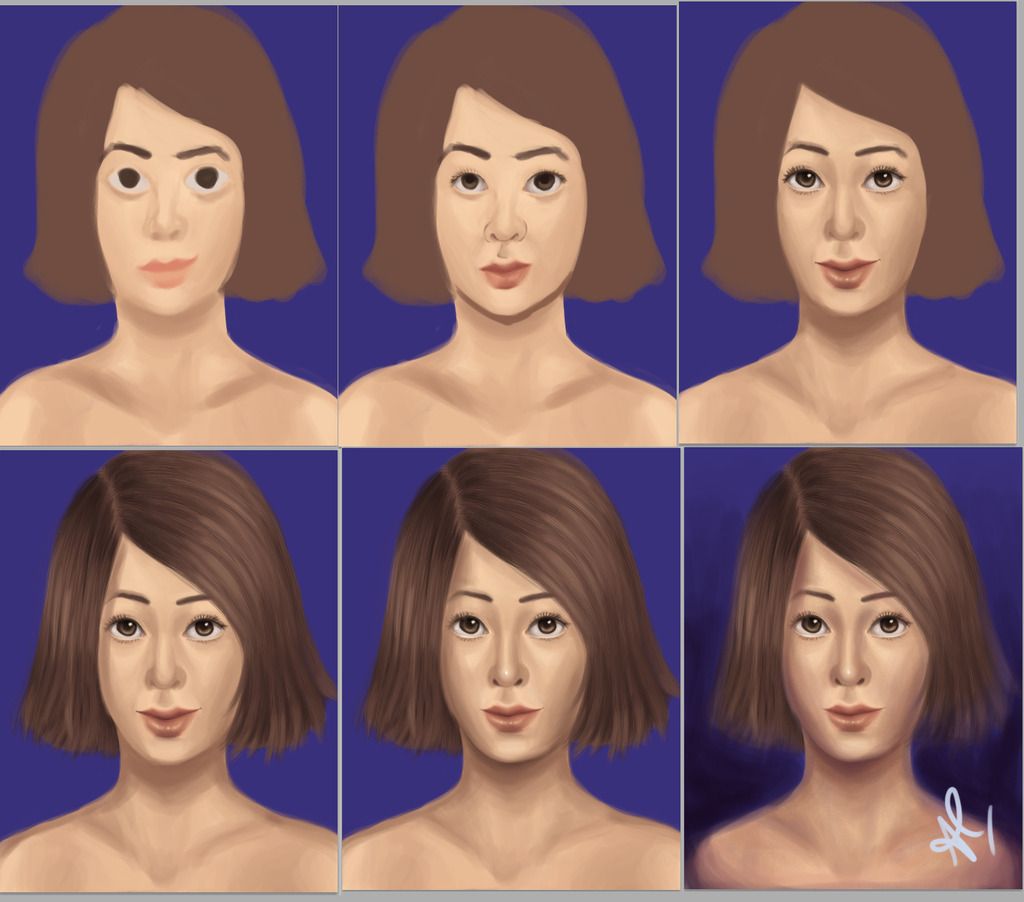
Explanation:
Step 1: Blocking
I block out the main shape of the face. In this step, I do a very rough drawing of my face structure and paying attention to the proportions.
Step 2: Edgework
In this step, I started to pay attention to the general form of the face and also add some dark shadows to increase the picture contrast.
Step 3: Detail
The next thing to do is to create the detail of the face. I usually started out from the eyes and aggressively focus on the eyes, since eyes are the main focal point of the portrait. I also start to repair the nose (I'm bad at nose drawing, so yeah)
Step 4: Hair
I created the hair with a hair custom brush. I also use the mixture of photoshop round brush to create a more realistic look.
Step 5: Repair
In this step, I flip the image and find out lots of mistakes that is pretty funny to recognize. I decided to just fix some of them and flip back the image.
Tip: It's easier to find mistakes by flipping the image!
Step 6: Background
At this step, I start to work out with the background and try to blend the render/the girl with the background itself. At first, it's challenging to do this, but with some trial and error I finally able to match those two elements up.
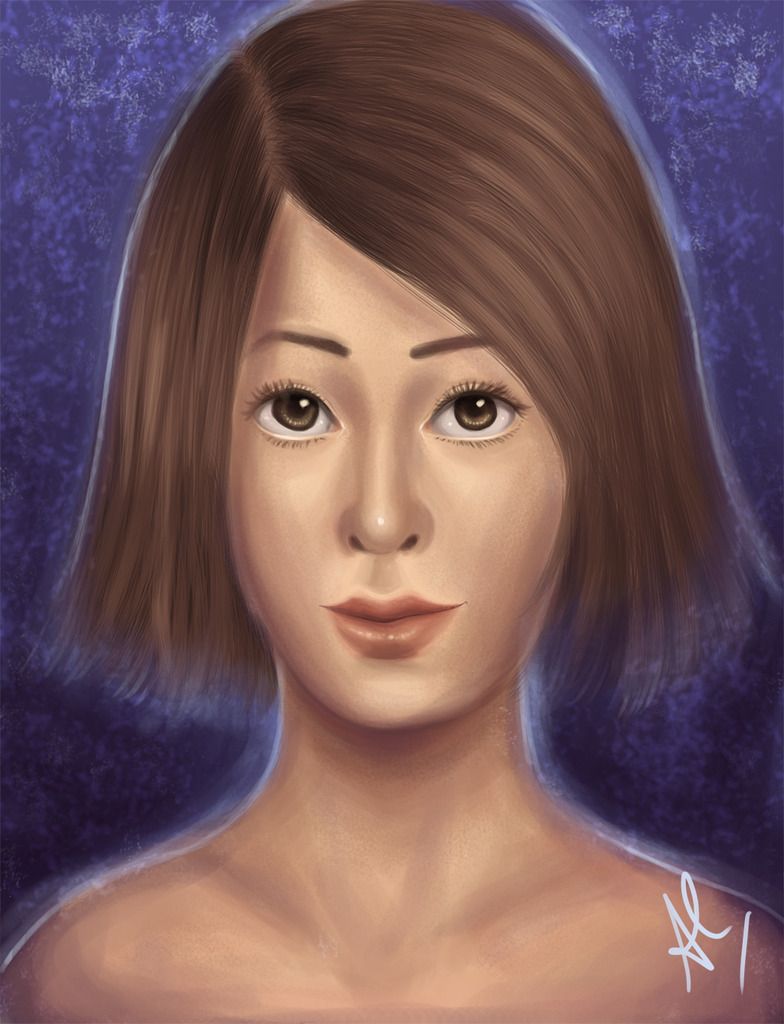
Step 7: Final Polishing
The last one! I adjust the background and add up some highlights.
---
And here's the portrait result: